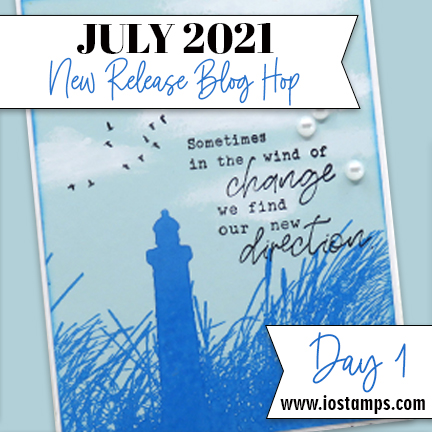
Welcome to the Impression Obsession June 2021 Release Celebration!
Each day (July 5th & 6th) you can find a list of participants on the Impression Obsession Blog (link to blog).
——————————————-
We will be giving away THREE Impression Obsession $25 gift certificates for the event – so the more you comment through our Release Celebration the more chances to win!
——————————————–
All comments for each of the event days will be open until Monday July 12th at midnight CT. All winners will be announced on Tuesday July 13th on the Impression Obsession Blog.
*********************************
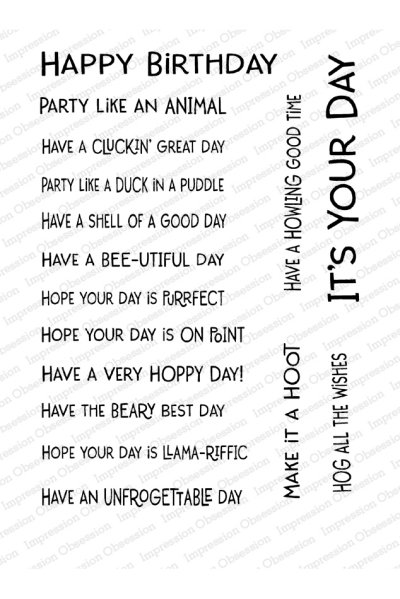
The new stamps are available now!
You can find them all HERE
*********************************
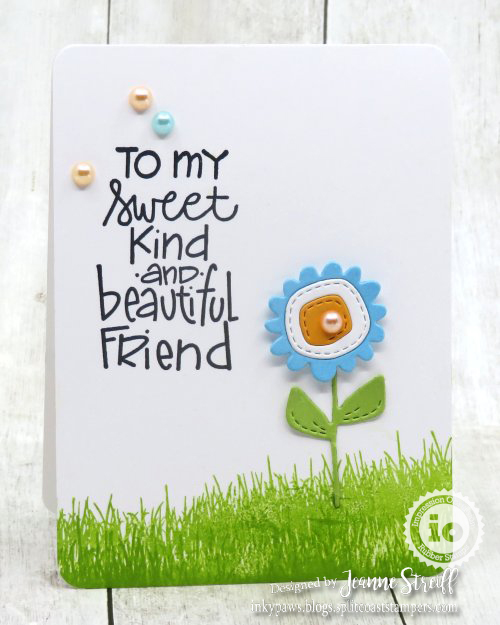
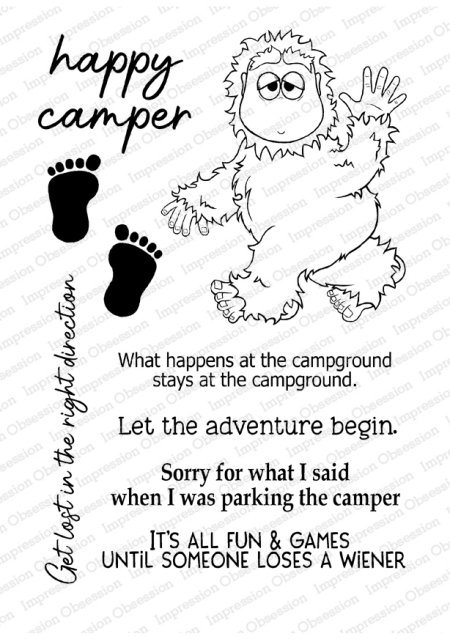
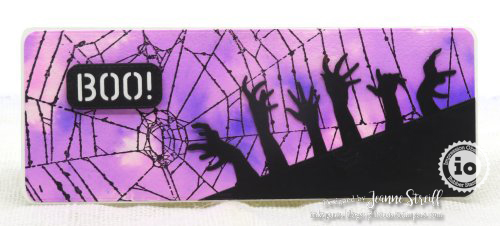
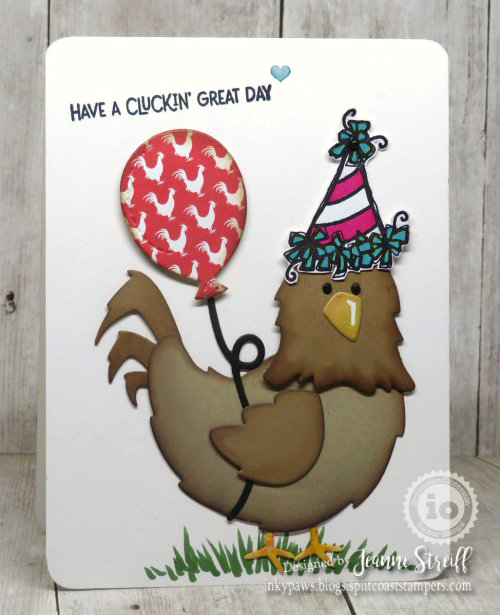
My next card uses CL1064 Camping with Bigfoot and
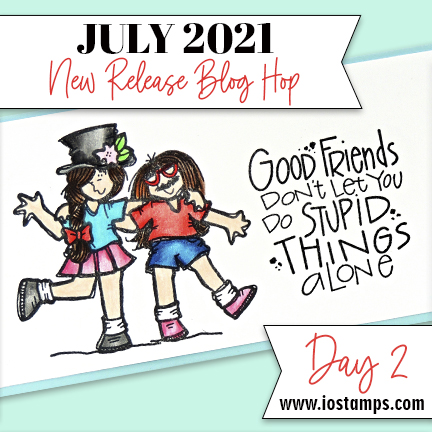
Today’s Hop Links
—————————-
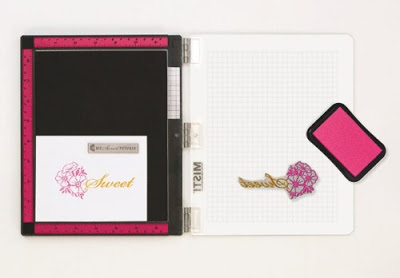
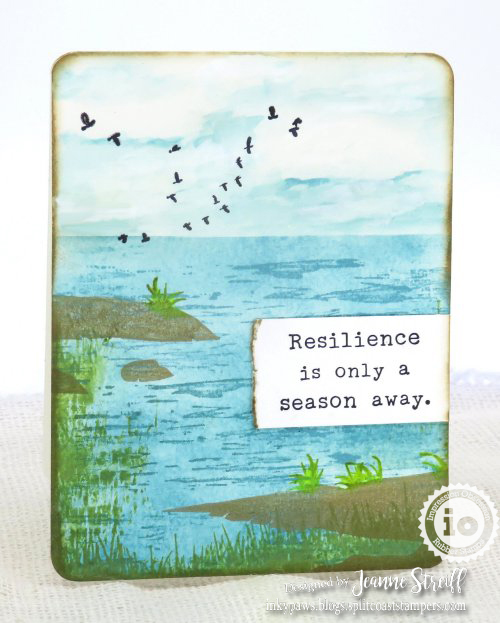
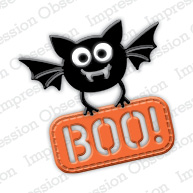
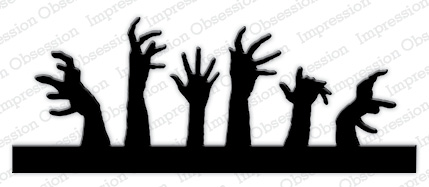
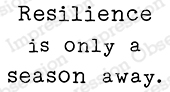
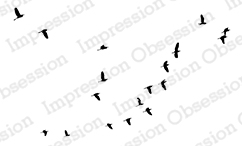
Products used: